Somewhere in the mists of time, probably three years ago now, we inherited an upcycling project from my sister-in-law. The once quaint wooden sideboard didn’t fit the decor of their new home, and my wife and I thought we’d give it a go.
Good from afar, far from good
The sideboard turned out to be a wreck. It had been left outside for some time, and as I didn’t have space for it in the workshop it was outside and covered in tarps for another winter before I could even get started on it.
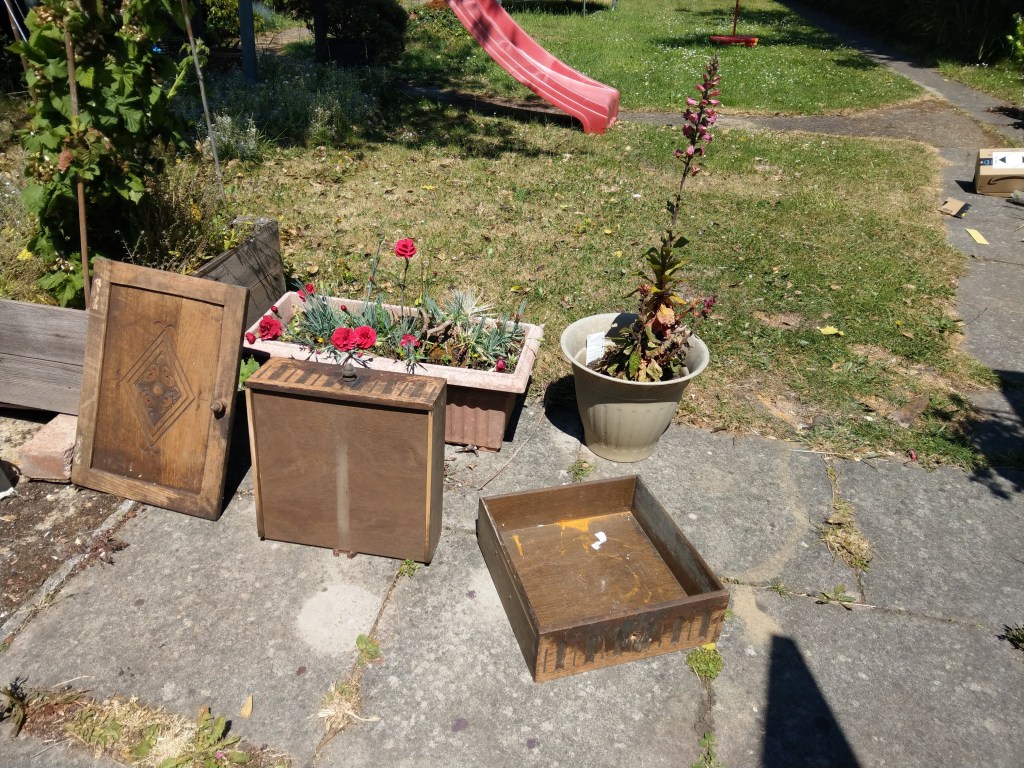

A closer inspection showed that it wasn’t a particularly good piece either. No wonder they’d picked it up for a tenner. The main structural parts looked like oak, but the rest was plywood and veneer. Most of that was de-laminating.
A good clean up works wonders
The first step was elbow grease. Sanding, and more sanding. All by hand because the parts were a bit too fragile to risk the orbital sander, and the belt sander would have reduced the whole thing to dust.
Slowly a picture of what might be possible emerged.


The veneer from the shoulders was all over the place, bits missing, the ply underneath also coming apart. I stripped away everything that was loose and built it back up with that rough packing paper you get with Amazon deliveries and watered down PVA.
With enough bits and layers that gave me a base to put on some new veneer. I had assumed the fascia was square to the shoulders, but obviously over time the two had warped, so there was a bit of fettling and filler required before that process was complete.
I didn’t mess too much with the veneer on the sides. It was wafer thin and ripped in places. I glued down the loose bits and made judicious use of filler for the gaps. It really was in a bad way and stripping it back could have destroyed everything.
We had toyed with the idea of covering the shoulders with copper coins, and I really would have liked to give it a go, but the curve was a bit too severe and undoing that if it went wrong would be really destructive.

We did of course give it a bit of a personal touch at the end. More on that later.
Pro tip – heat breaks up old glue. It took about five minutes of half power and jiggling per handle to get them out. Don’t forget to wear gloves.

Finishes, and the end in sight
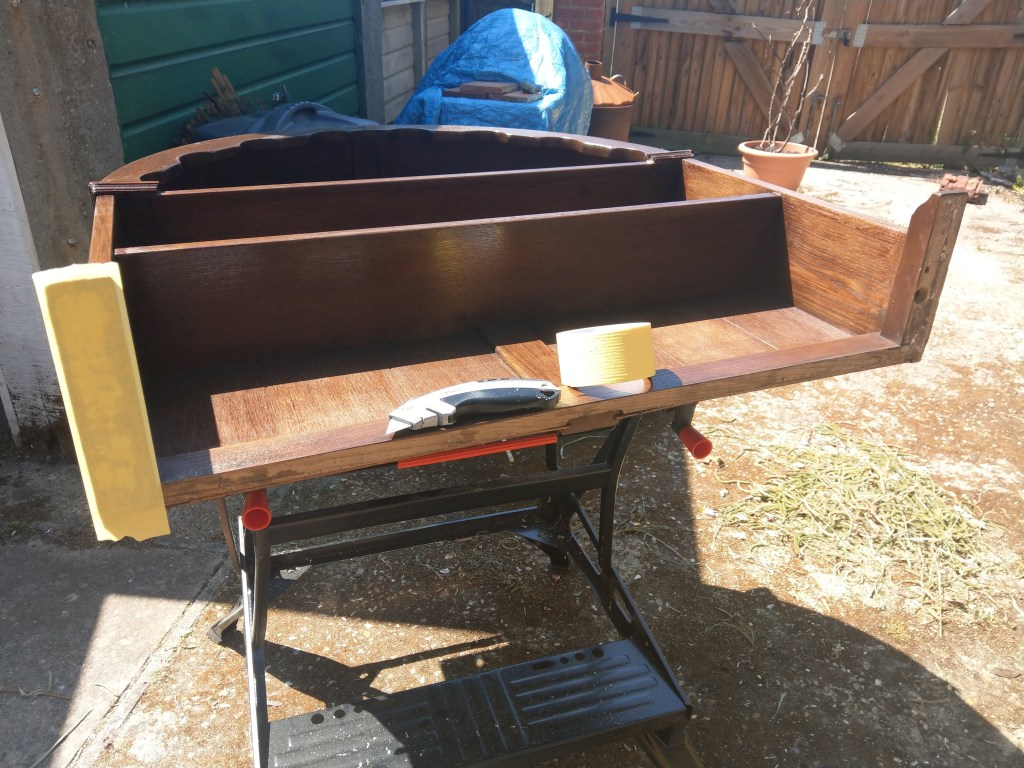
I have no idea if there is any science to this, but it felt right. I used two coats of walnut wood dye first. In part this was to even out the colour and hide some of the water damage, and harmonise the different wood types, and in part the wood was in poor condition from exposure and I felt it needed some care lavished on it.
That gave me a good base on which to apply two coats of walnut stain.

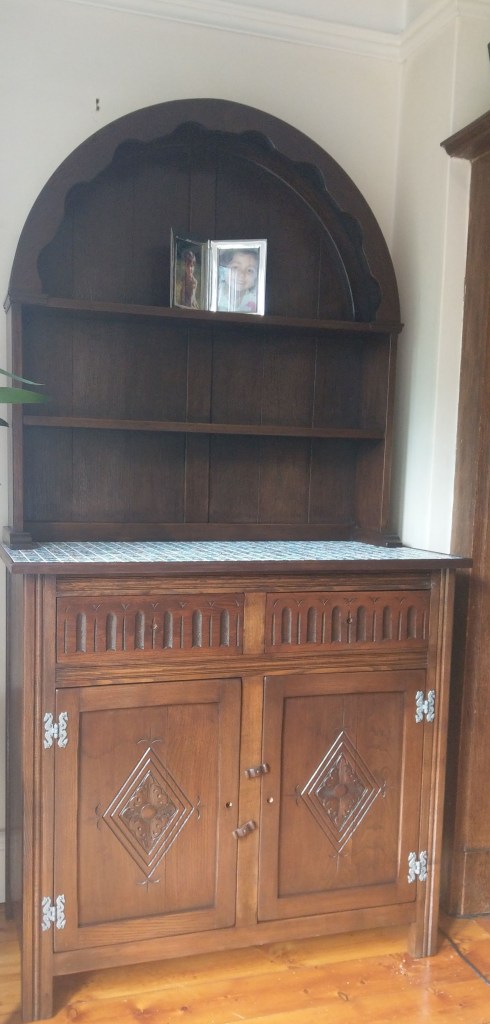
The split in the doors posed a tough question. It was theoretically feasible to unglue, disassemble and try to straighten and repair them, but it was a risk. The crack has not penetrated all the way through, there are bends in the back of the door but no open space.
In the end I went with the easy option, and consoled myself that this allowed the sideboard to tell its story.
That said there were myriad cracks and splits that needed repair. I mostly used dust from the sanding and pva in the gaps, and an array of clamps. I’m pretty pleased that the repairs aren’t obvious.

Coming unhinged
The hinges were also a mess. At some point a previous owner had varnished over them. Don’t ask me why. It took a combination of gel paint remover, a toothbrush and wire wool to get this mess off.
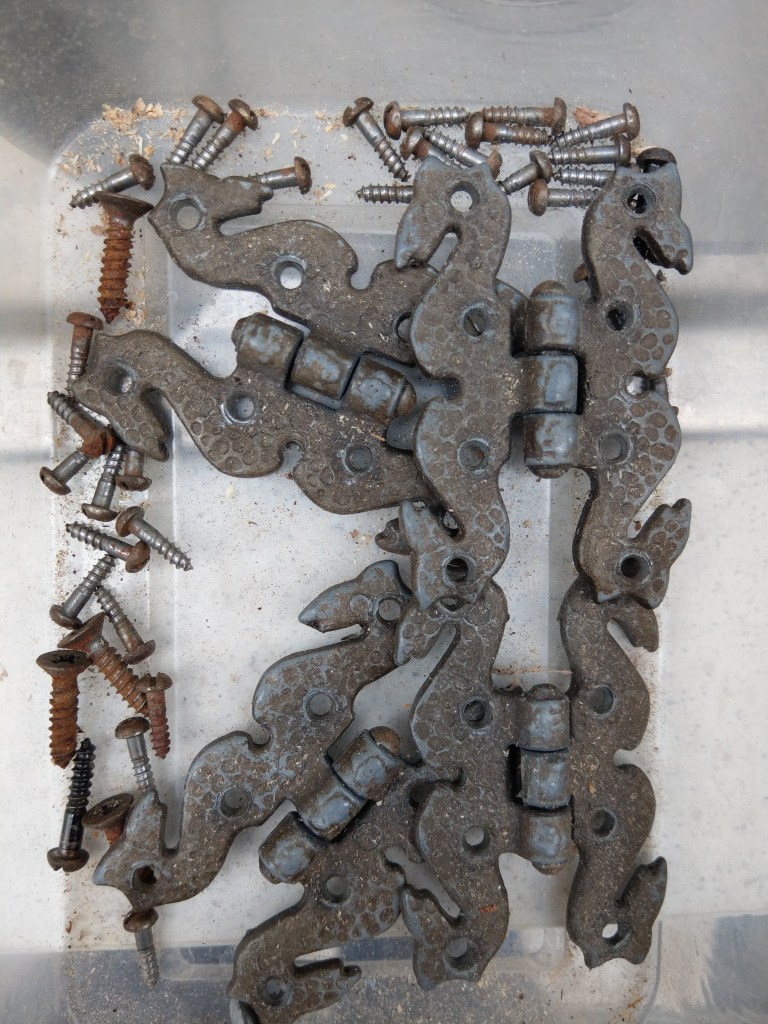
I don’t actually like the hinges, and I don’t see how they fit the overall style. There are no holes indicating other hinges were once used. I’ve stuck with these for now, but I can see a future in which they are replaced.
It was around now, with the wood recoloured and a shape emerging that it was clear this was a bit of Frankenstein furniture. The style of the doors, drawers, hinges and top piece don’t seem consistent.
That made it easier to give it a bit of a flourish of our own.
Top, tiled
The flat top on the base was a ruin. It was where the water damage was worst, and it needed a complete replacement. I went with plywood because why be different to what was there before, and a beading to finish off the edge.

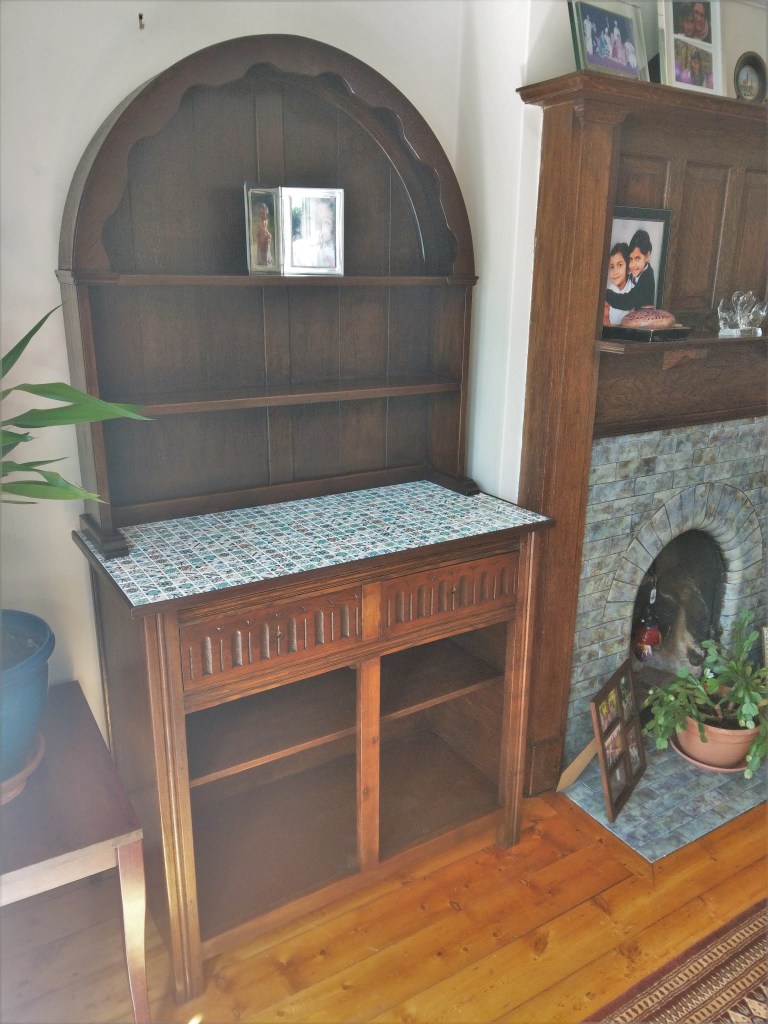
That high edge and flat surface meant we could add a personal twist. Tiles.

We used a contact adhesive to stick the tiles down, and then grouted. I really like the effect we achieved with this. My wife’s idea and choice of tiles, so well done to her.
Fit, and not quite finished
The two parts are attached with a pair of dowels and pair of screws on each foot. I decided to keep the original dowel position and put in new screw holes. A bit of precise measurement was required to get that right, as well as making a template for the two feet.

Finish line just out of reach
The handles we like aren’t in stock, so there will be a bit of a wait. The build work is done though, and the whole thing put together and in place.
It fits the colour of our fireplace and the two sets of tiles riff off each other. That was completely intentional, obvs.
After a couple of years of on and off tinkering, and a bit of lockdown inspiration, I’m quite pleased with the result. Of course I know every inch of this thing now, I know where the veneer is tap away from falling off, and where glue, filler and hope are holding things together. The whole house is like that.
It was never a high end piece. It looks like it was several ideas cobbled together before we got hold of it, and we have added a few of our own. Something about that feels right. It fits our house and our family.
Job (almost) done.

End