
All aboard the pallet bandwagon
Everyone is making things out of pallets these days. The videos and posts make it look so easy. Planks that prize apart at the slightest effort, beautifully planed and straight oak, blocks you could build your house with.
Not wishing to let this bandwagon leave without me I jumped aboard.
Regrets? I have a few. And splinters. Aches. A lot of aches.
I’m pleased with the outcome, and I learned a lot along the way, but it was a mission and I’m glad its over.
Here’s what I found out.
Not all pallets are equal
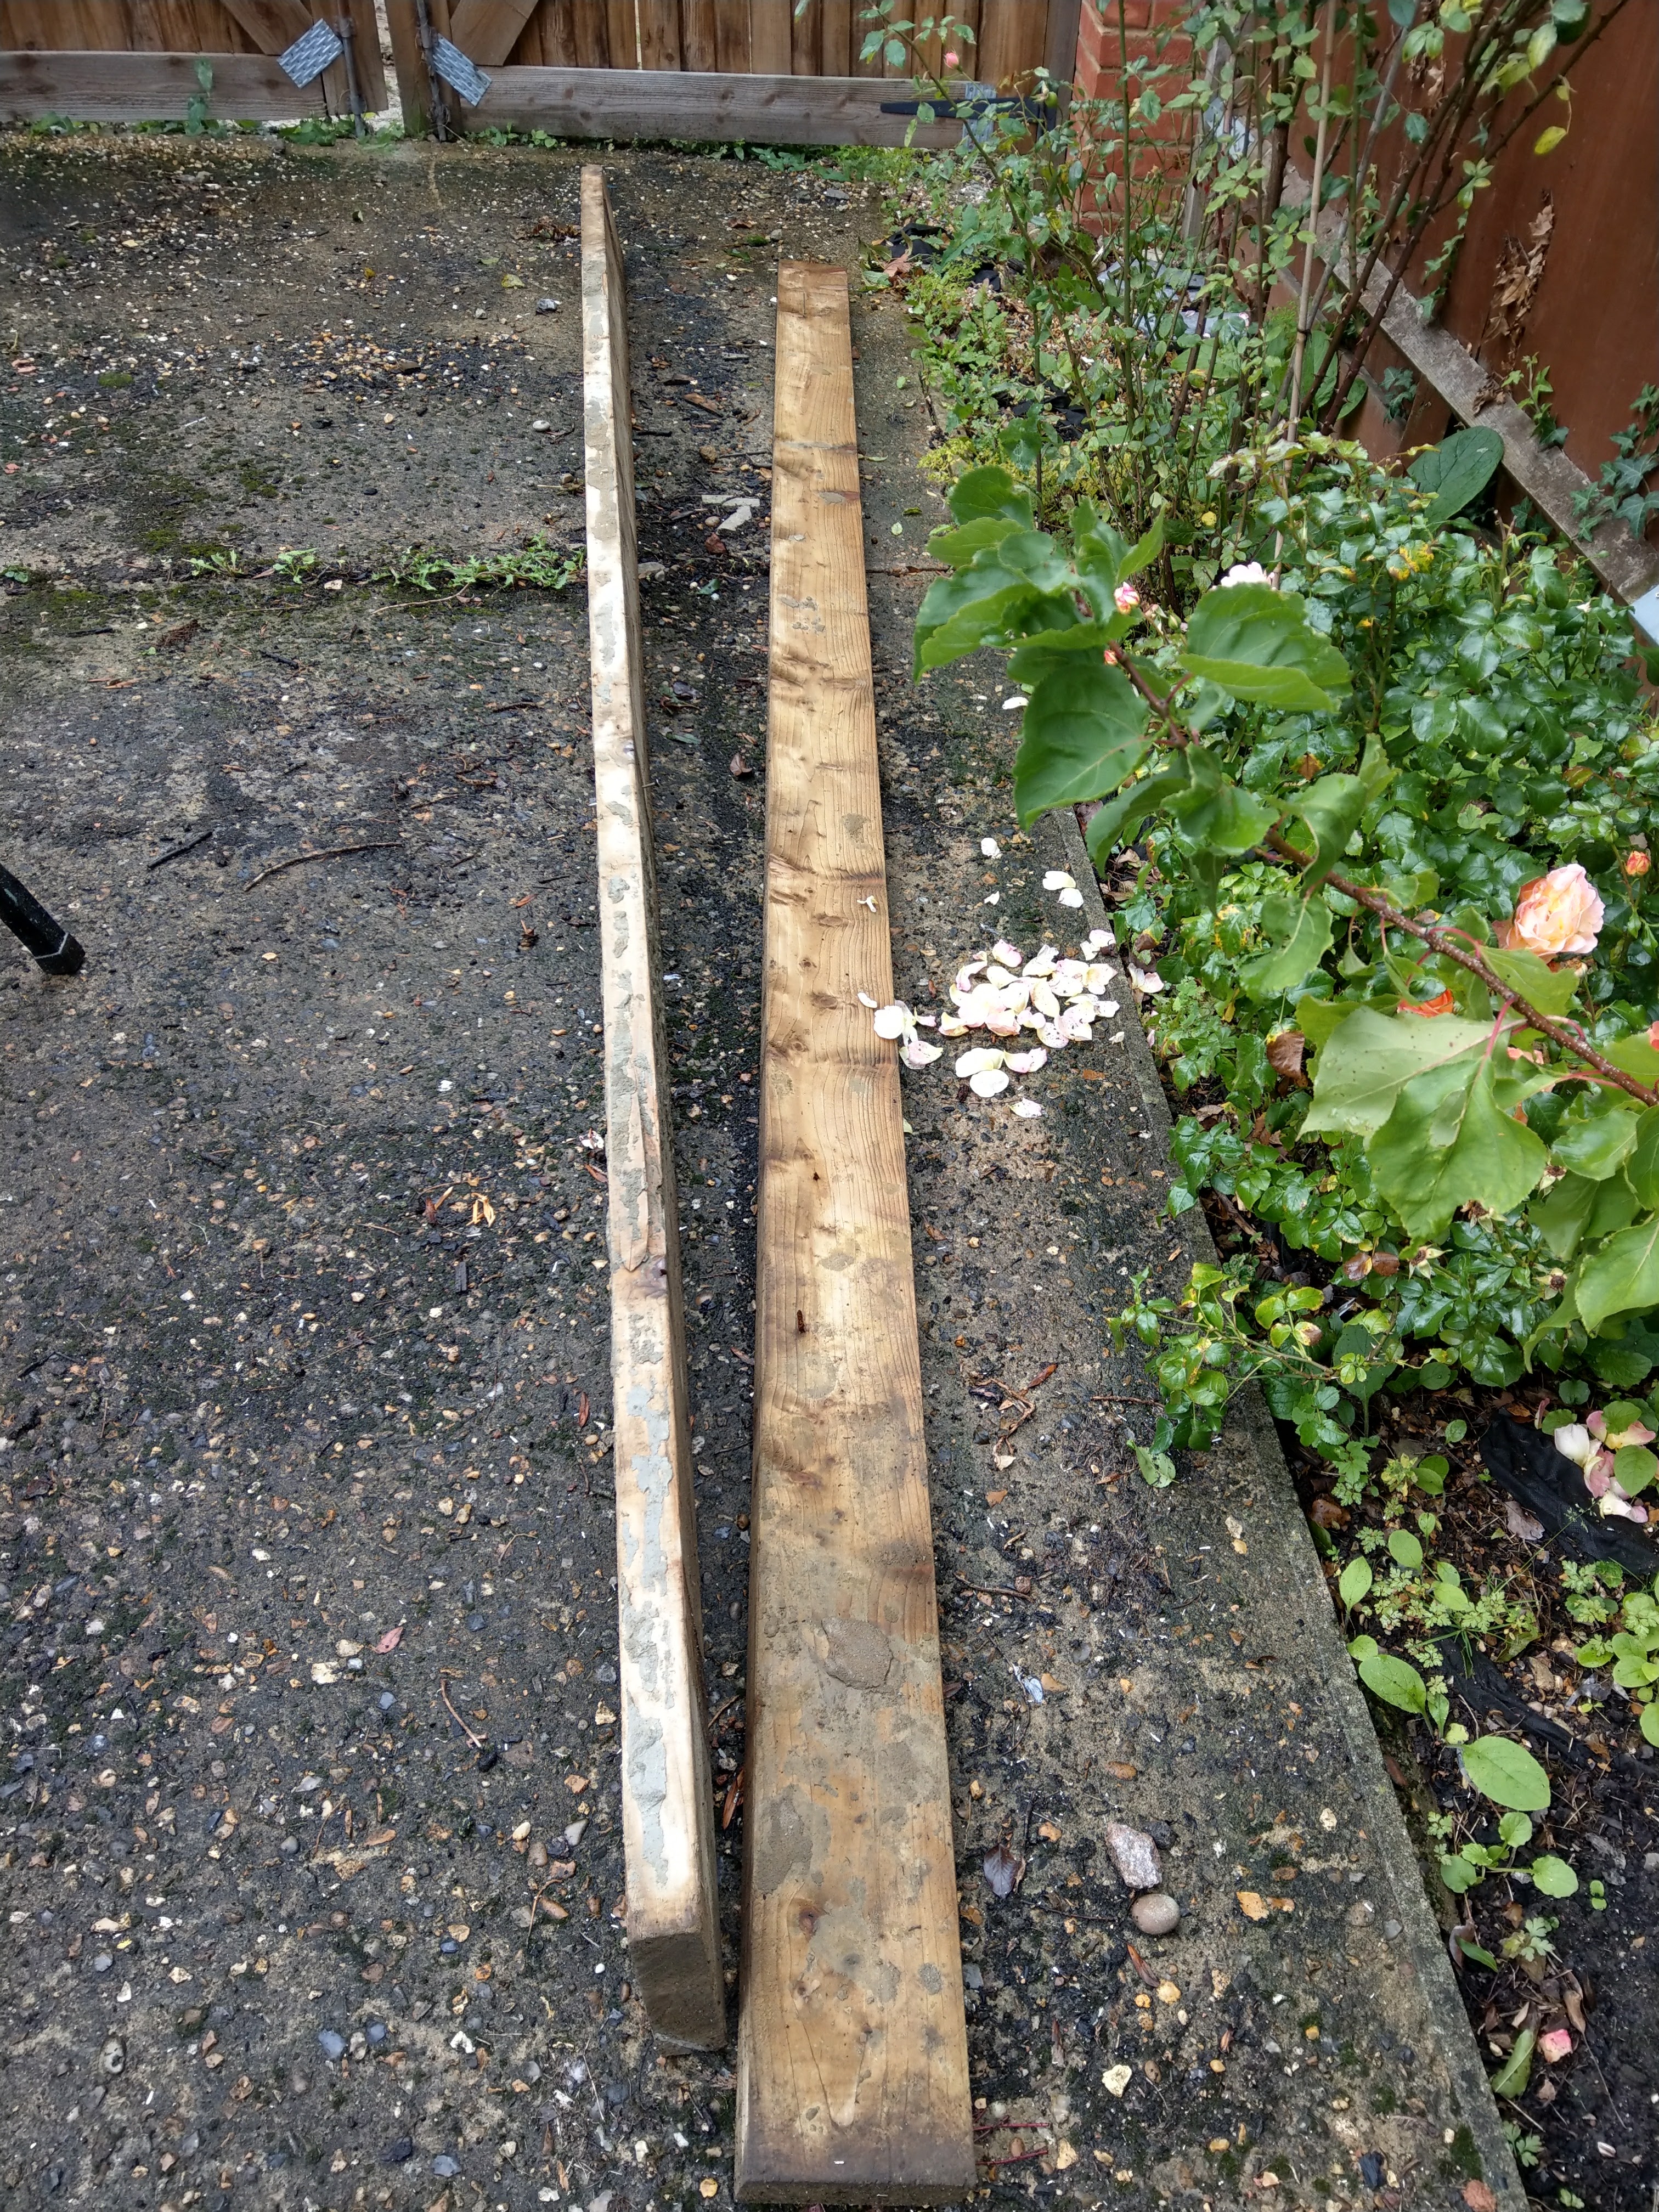
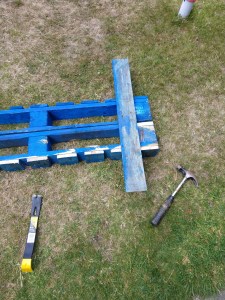
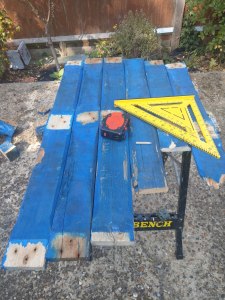
Quality, shape, size, wear. All variables. These are the three pallets my wife acquired for free from a local store. Two went into this project.

These are a far cry from gorgeous blonde, smooth pallets of others’ posts. I suspect the splinters have carried a substantial amount of blue dye into my bloodstream. Frankly I’m surprised I don’t look like a smurf now.

Not all parts of pallets are equal Or Square
These aren’t designed to be beautiful. The idea of a pallet is that it does not fall to pieces and can carry a load, over and over. The tolerances on the components are pretty loose. Planks that were optically similar were as much as 5mm different in width.
Differences in length were more about where the wood split when I was breaking the pieces apart, or where there was previous damage. Some parts were warped, some bowed.
That set the tone for this build. It had to be something robust and rustic. Without a planer/thicknesser and a huge amount of waste there was no way this was going to turn into something beautiful and refined. Not in my hands anyway.

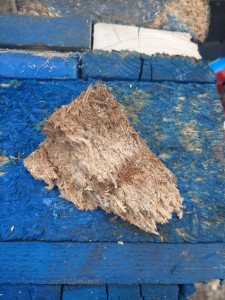
Oh, and the less said about the compressed fibre end blocks the better.
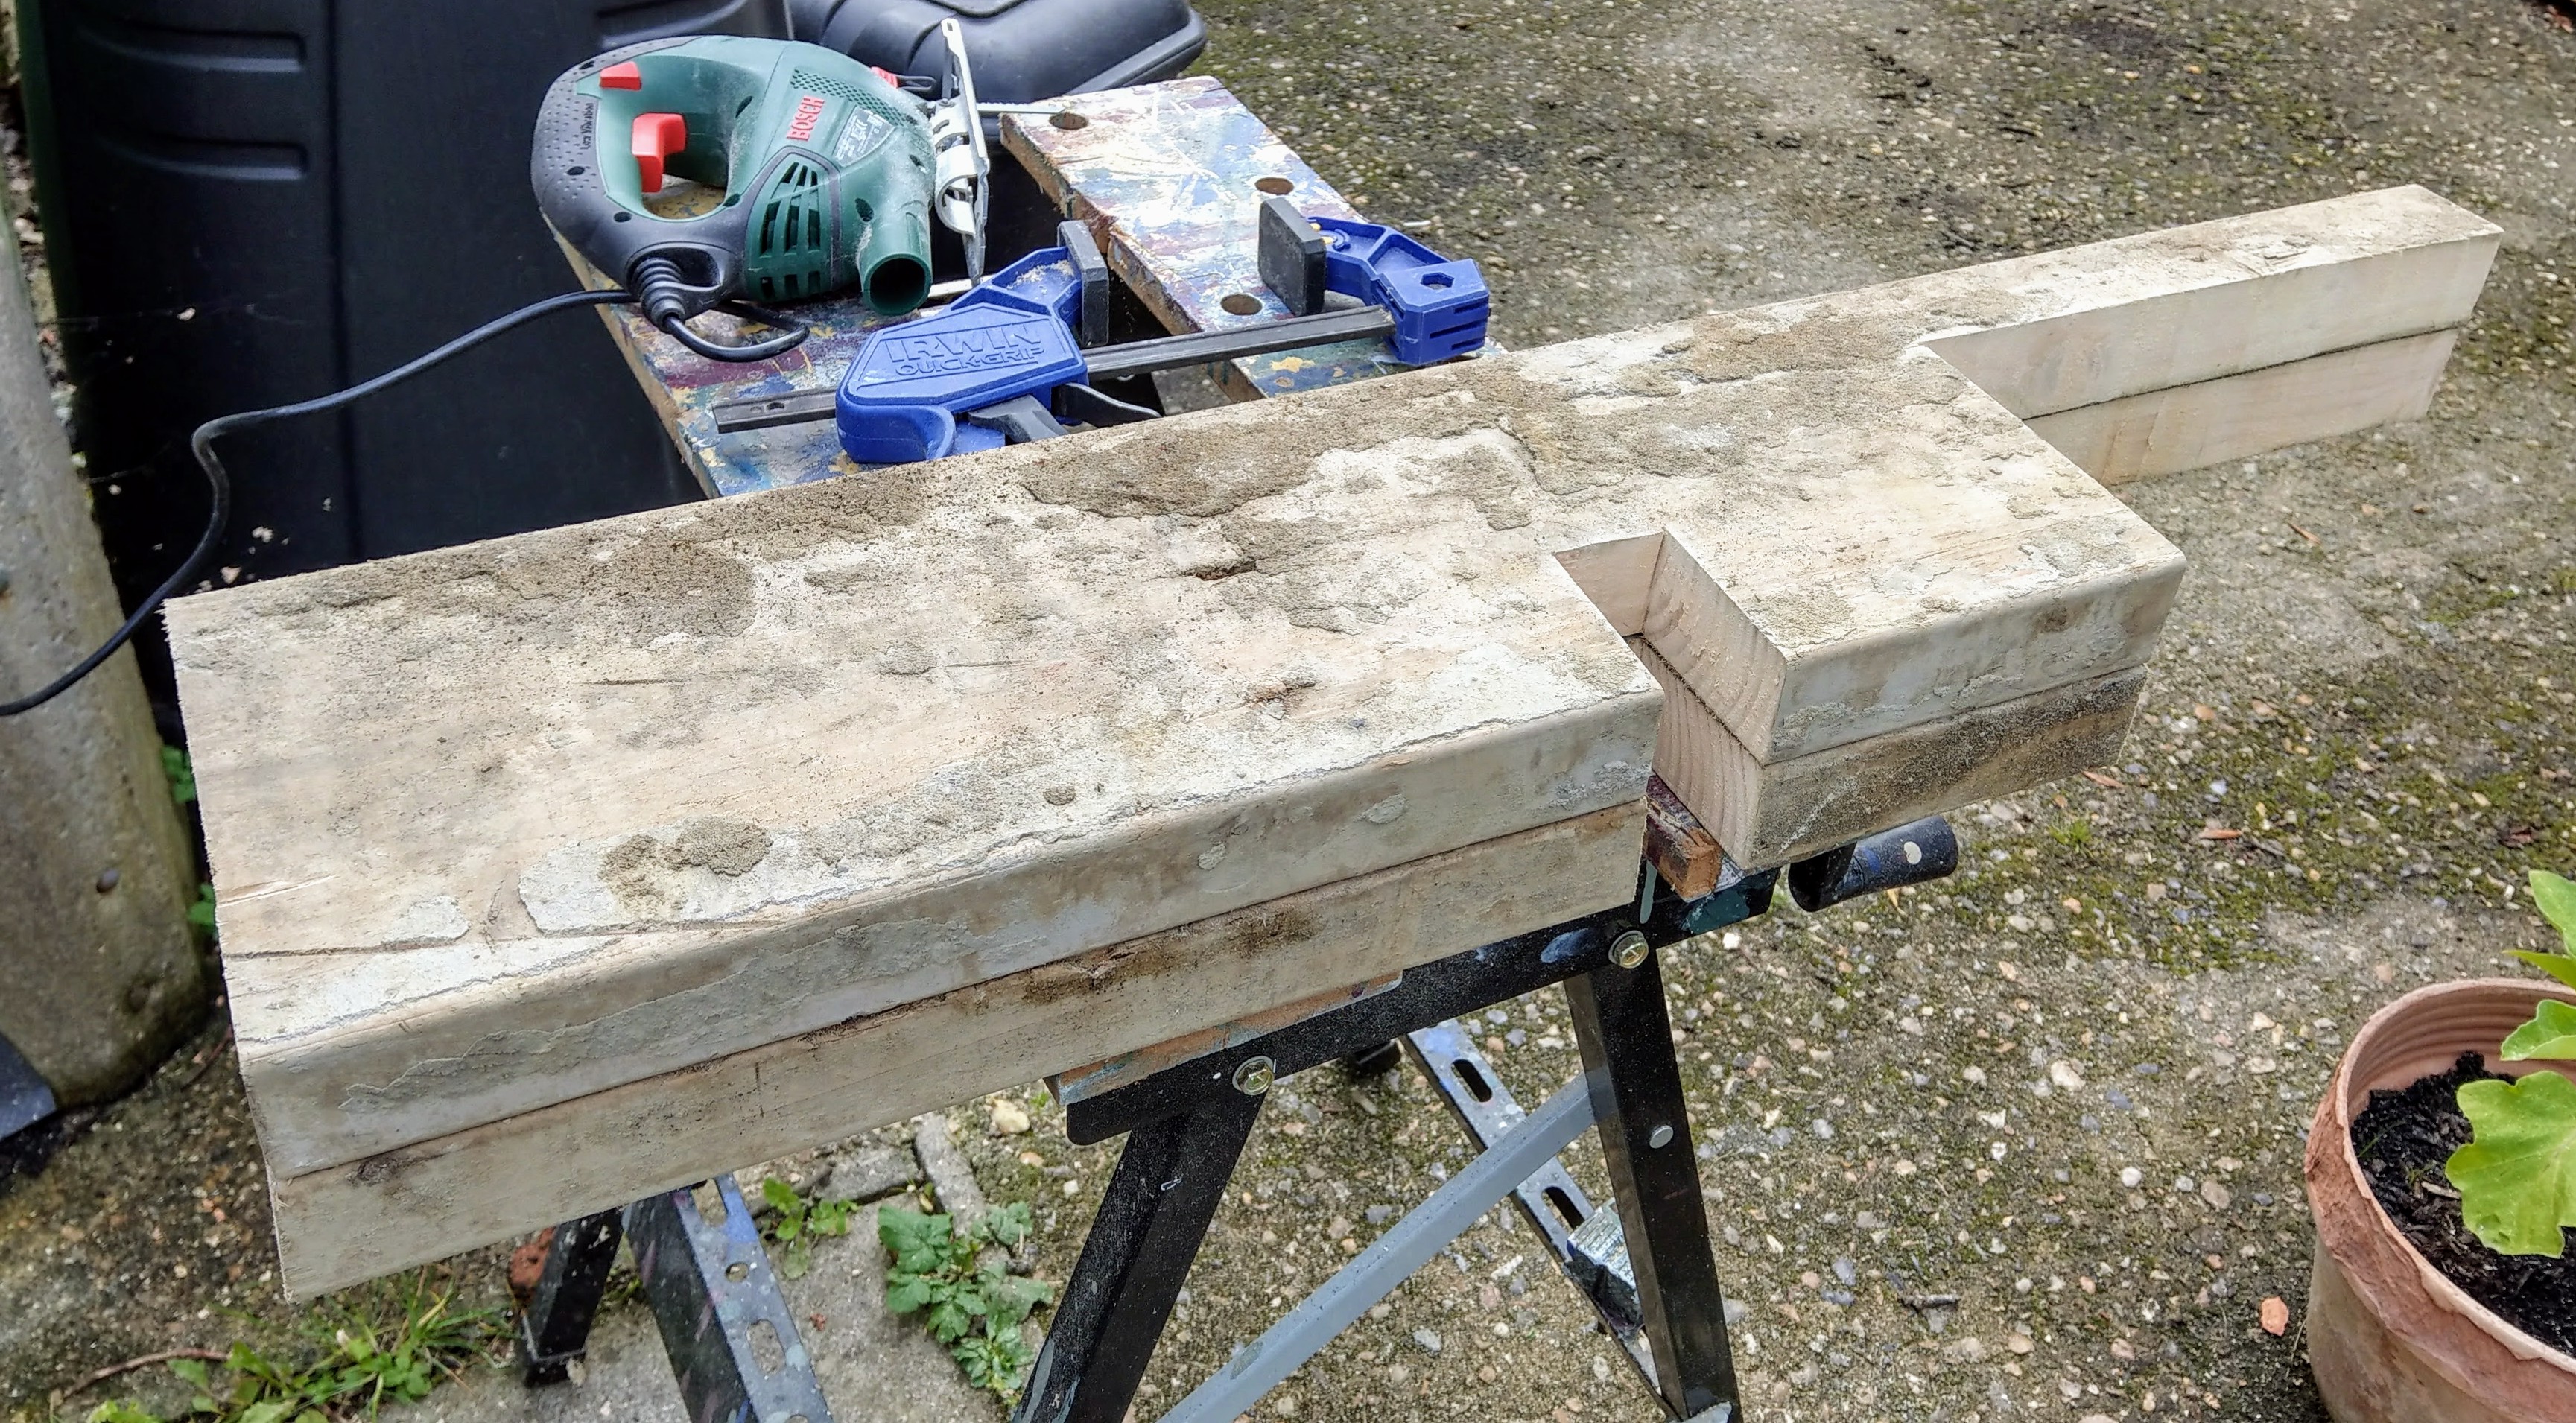
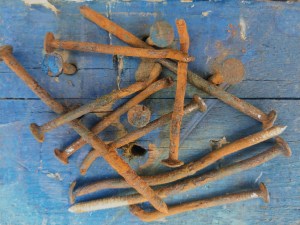
So many nails
Each fixing point had at least three nails. All were rusted, and deeply embedded, strengthened by years of compression. I cut where I could but it still meant prying and pulling and hacking.
Then I got to the second layer. Nails bent over and hammered back in to provide an immovable hook. I ignored those as long as I could, then took the Dremel to them.
Of course I had to remember there might be bits of metal embedded when I was sawing and sanding.

Notice also the splits and cracks which rendered the ends of many of the planks unusable.
Making the best of it

All that effort and this is what I got. A pile of potentially usable planks. I had a vague idea of what I wanted to make. Our garden bench has been getting a bit wobbly, so another place to sit was a reasonable challenge.
Most pallet projects keep as much integrity of the original pallets as possible, and I can see why. There was a lot of waste and effort involved in getting this far. I could more easily have created a flat bench which was perfectly functional by chopping and reattaching large sections. I’ll use that method for the next project (a potting table) because I’m running out of dry days and daylight hours.
The point here though was to find out what could be done. Onward!
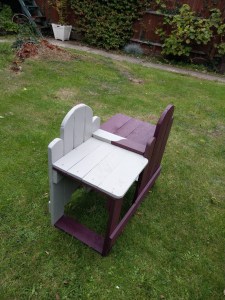
Loveseat, baby
I’d settled on the idea of a loveseat pretty early on. The design morphed as I got to grips with the materials and worked out what was feasible with what I had.
Originally I had visions of built in shelves for herb pots, and that the central divider would be a planter where I could put in some rose geraniums. That came crashing to earth pretty quickly.
I still liked the idea of two seats facing each other, and a trawl through the available finishes in my garage gave me the idea of a two tone colour scheme. That’s about as much planning as I ever do for something like this.
Here’s the first stage complete:

There were mishaps along the way. My trusty pilot and countersink snapped.

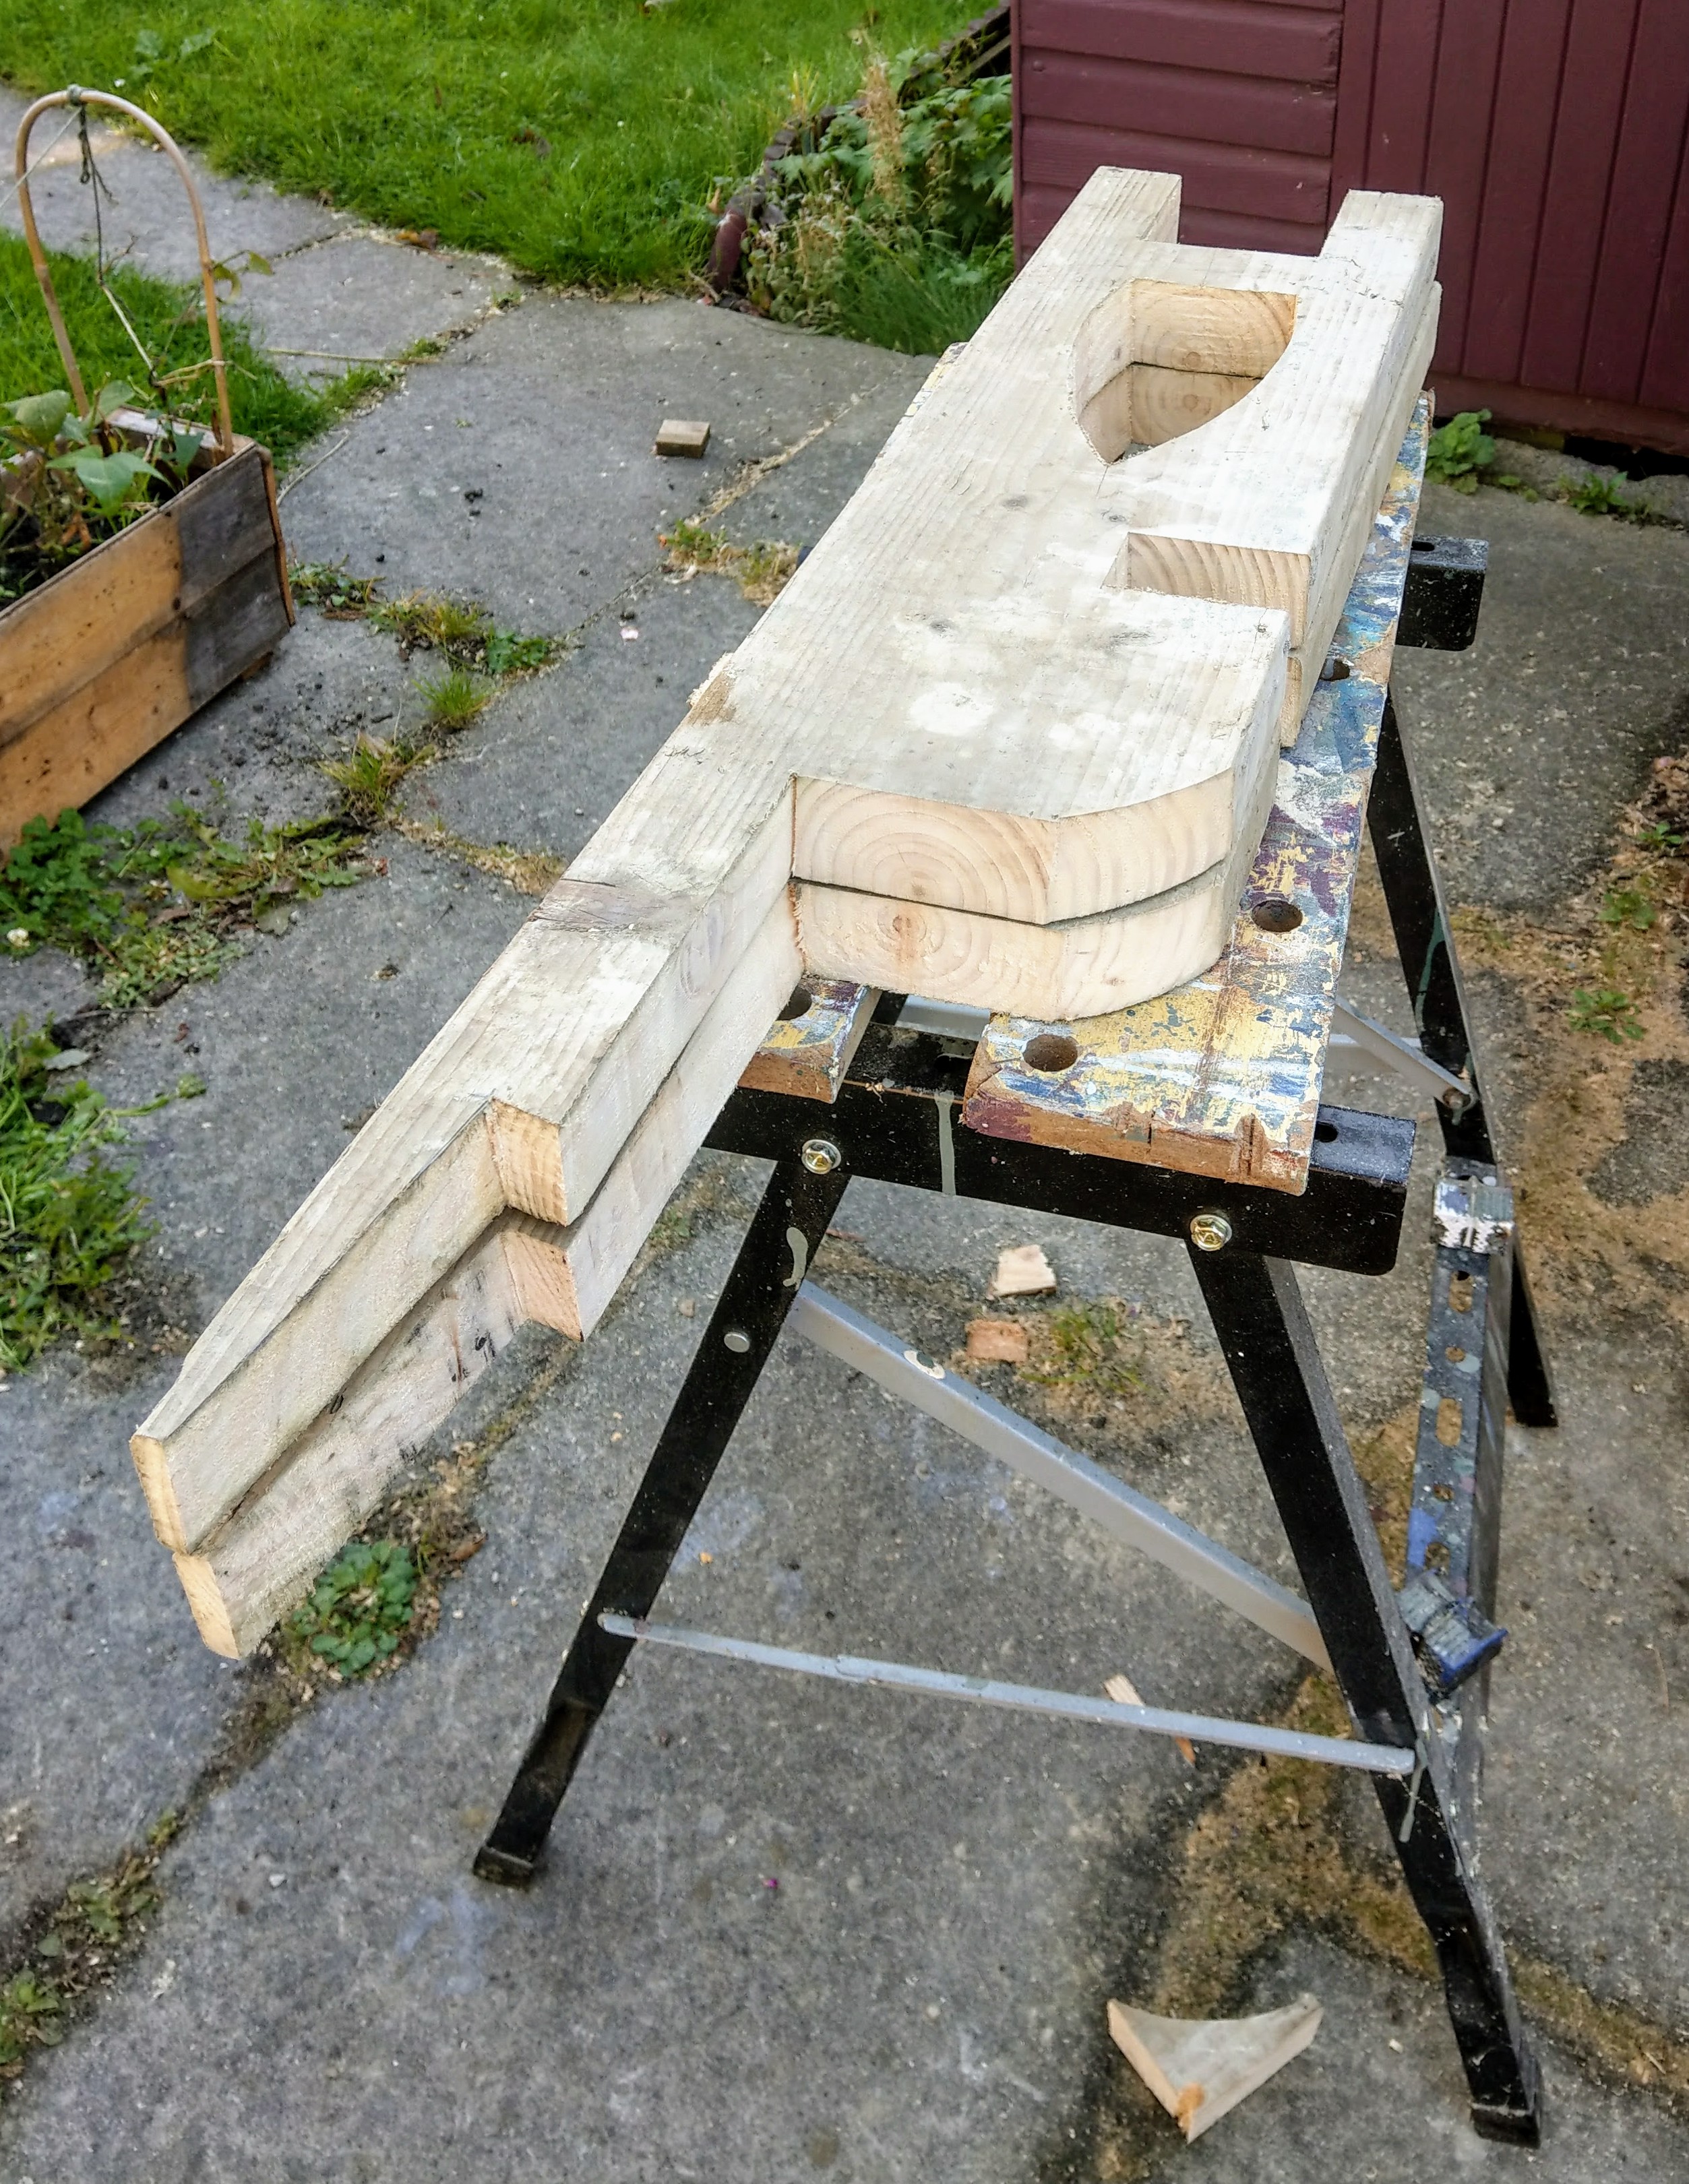
The thicker planks have a little bevel, which I decided to make a feature of. You can see it in the image above. That meant a lot of measuring and re-thinking the design on the fly to make everything fit because it would have been too easy if I just had enough of the right pieces.
This is the test fit of the design I went with for the backs. You can spot where the damaged ends have been hidden away. I didn’t do too much filling on the backs despite the very knackered state of the wood. Let’s say that was to retain the history of the material and not being heartily sick of the project by this stage.
There’d been long delays for bad weather, back injury and other commitments, but it is all about the history.

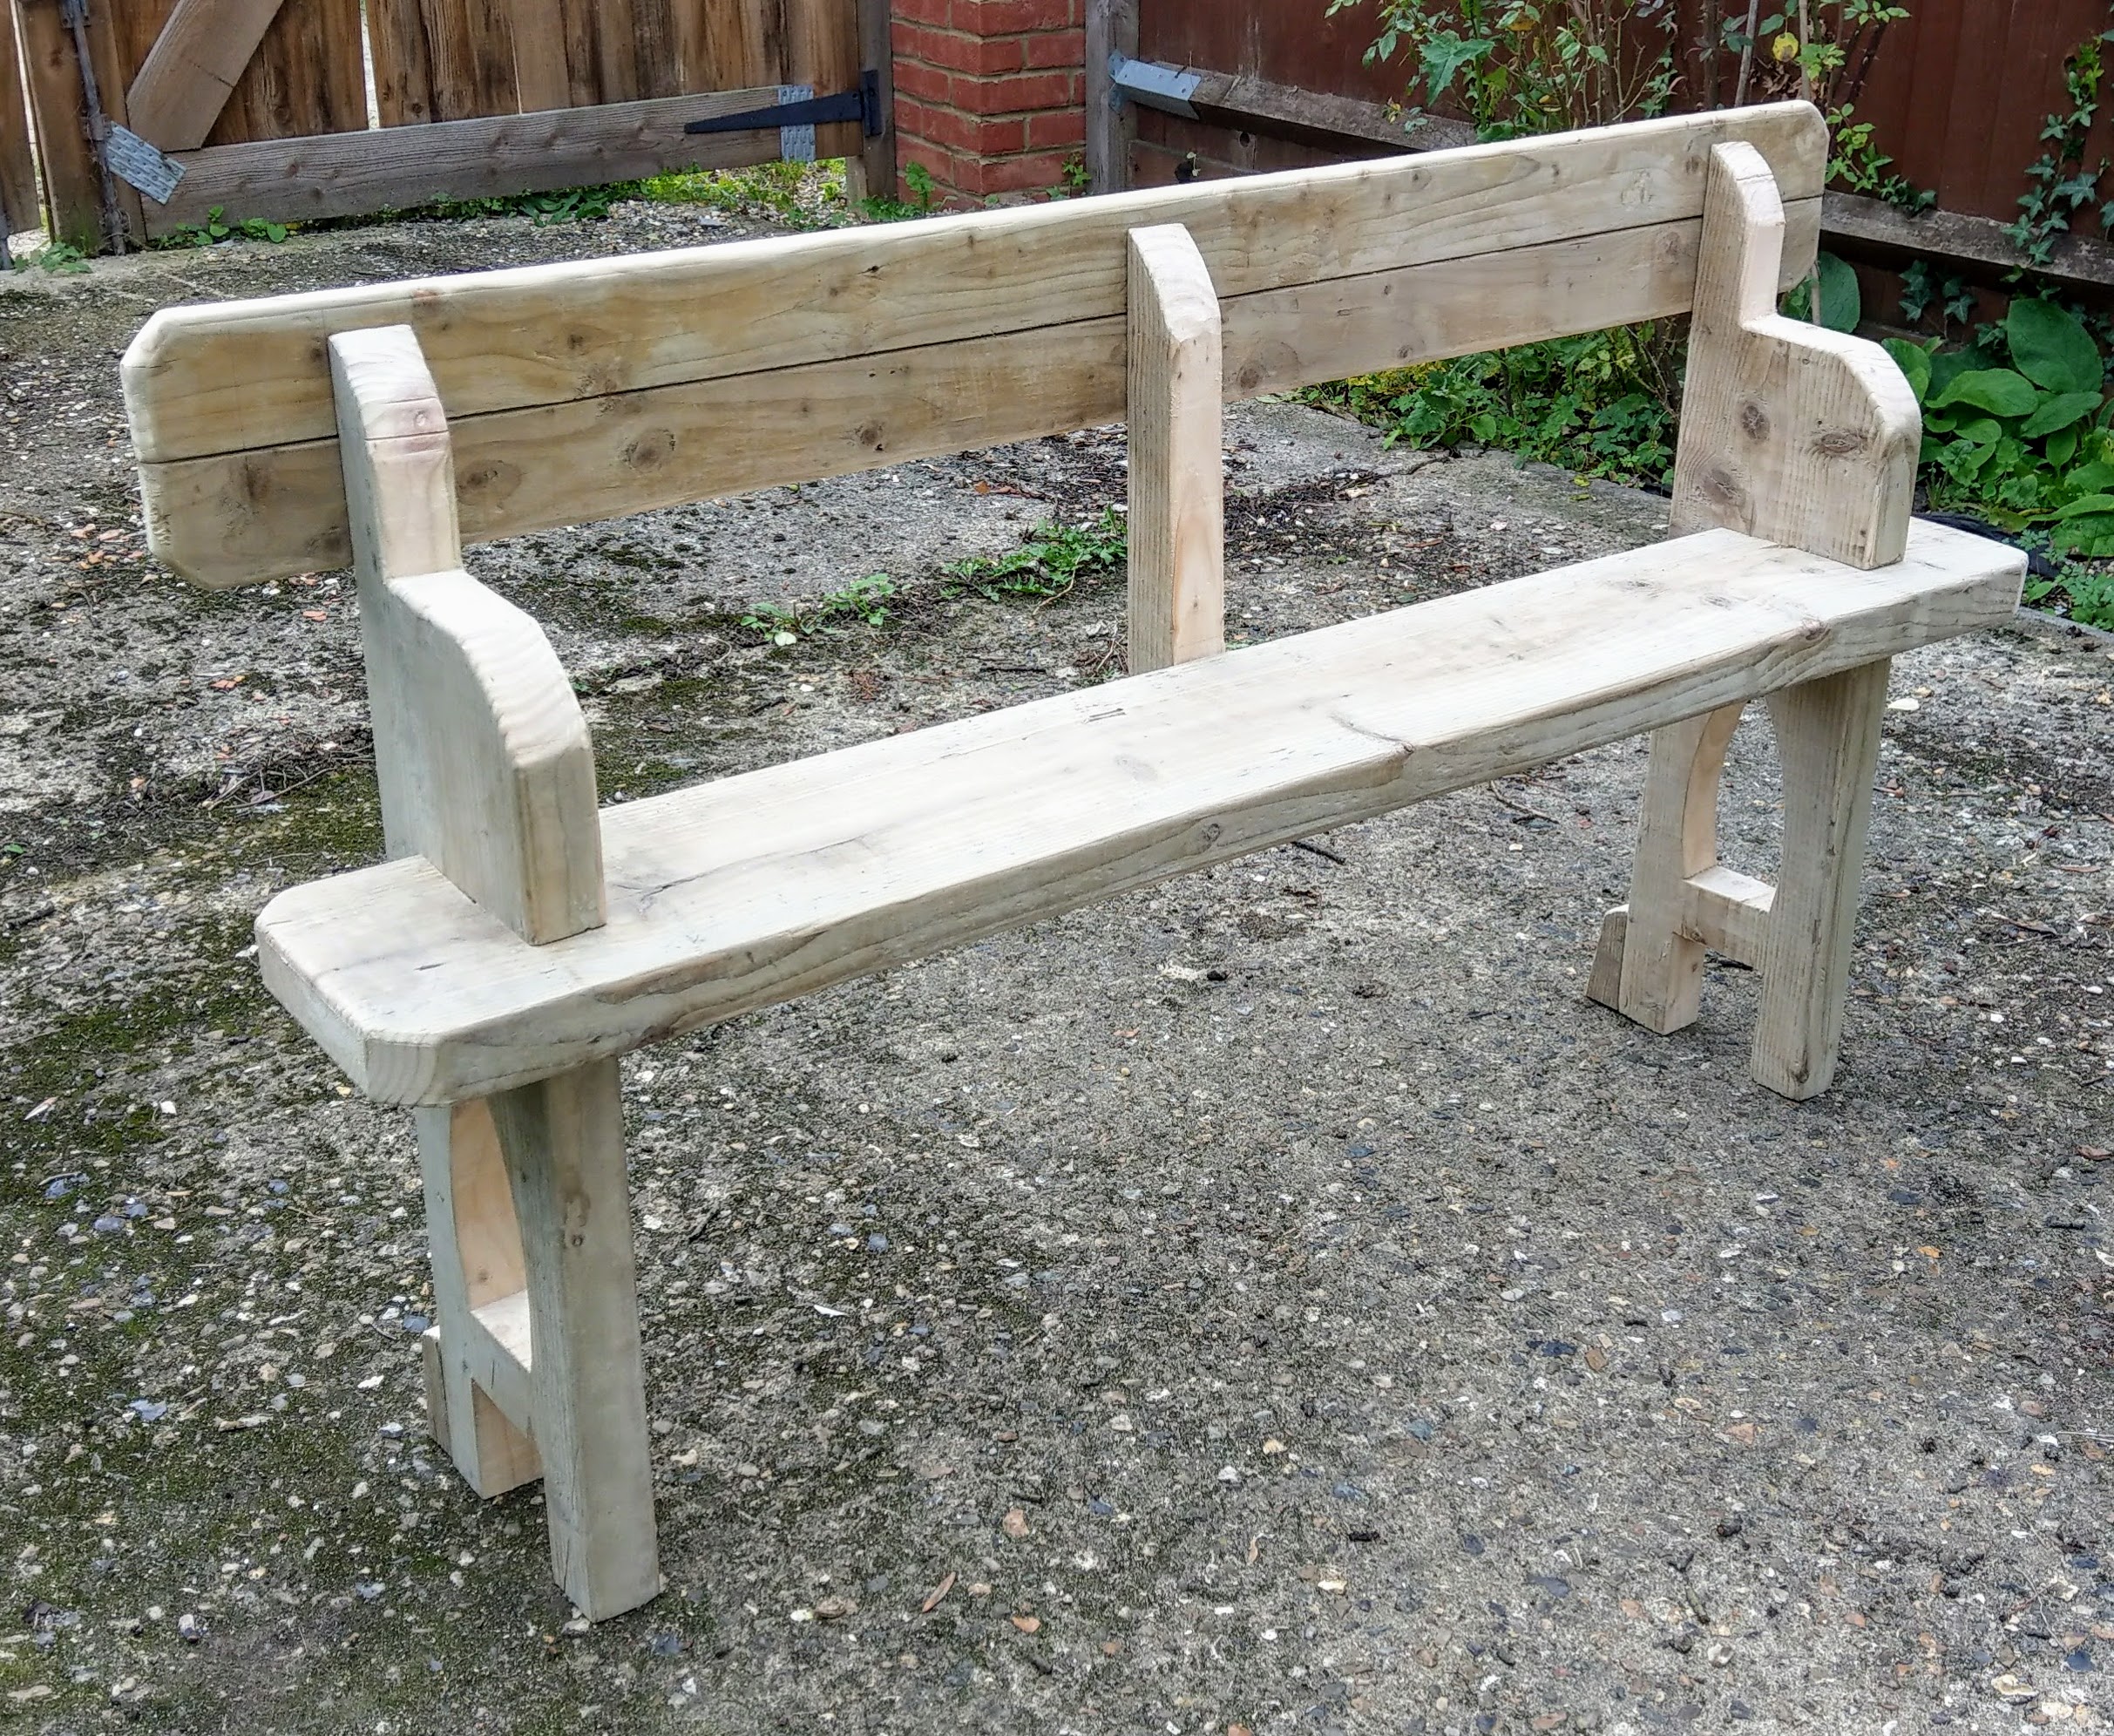
The final push was a battle against the weather. The task is complete just in time for us to enjoy it next year.

End note on finishes
I’ve been using the Cuprinol Garden Shades range for a while now. Experience from the treehouse shows that it lasts in London weather for five years before it starts to get scruffy, and a couple more before really needing to be refreshed.
This one is done up in Muted Clay and Summer Damson, a colour combo I used on the shed refurb and I quite like.
END